How to configure DJ-Classifieds
DJ-Classifieds installation
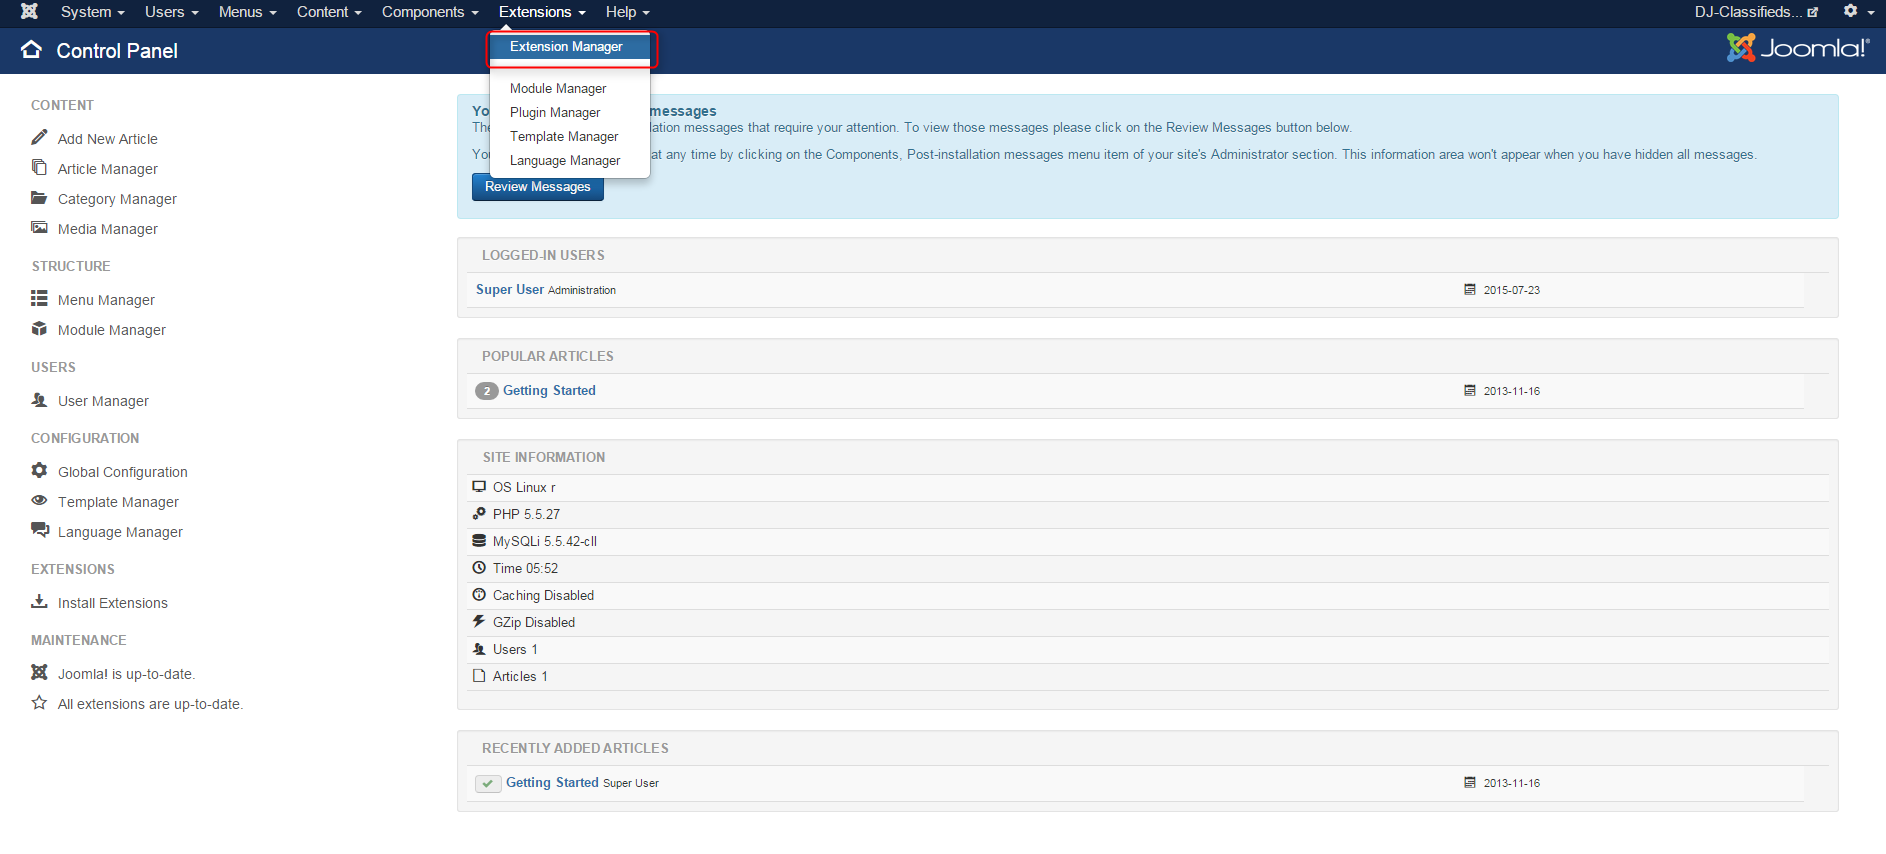
It would help if you were logged-in as Joomla administrator. Open the " Extension Manager ".
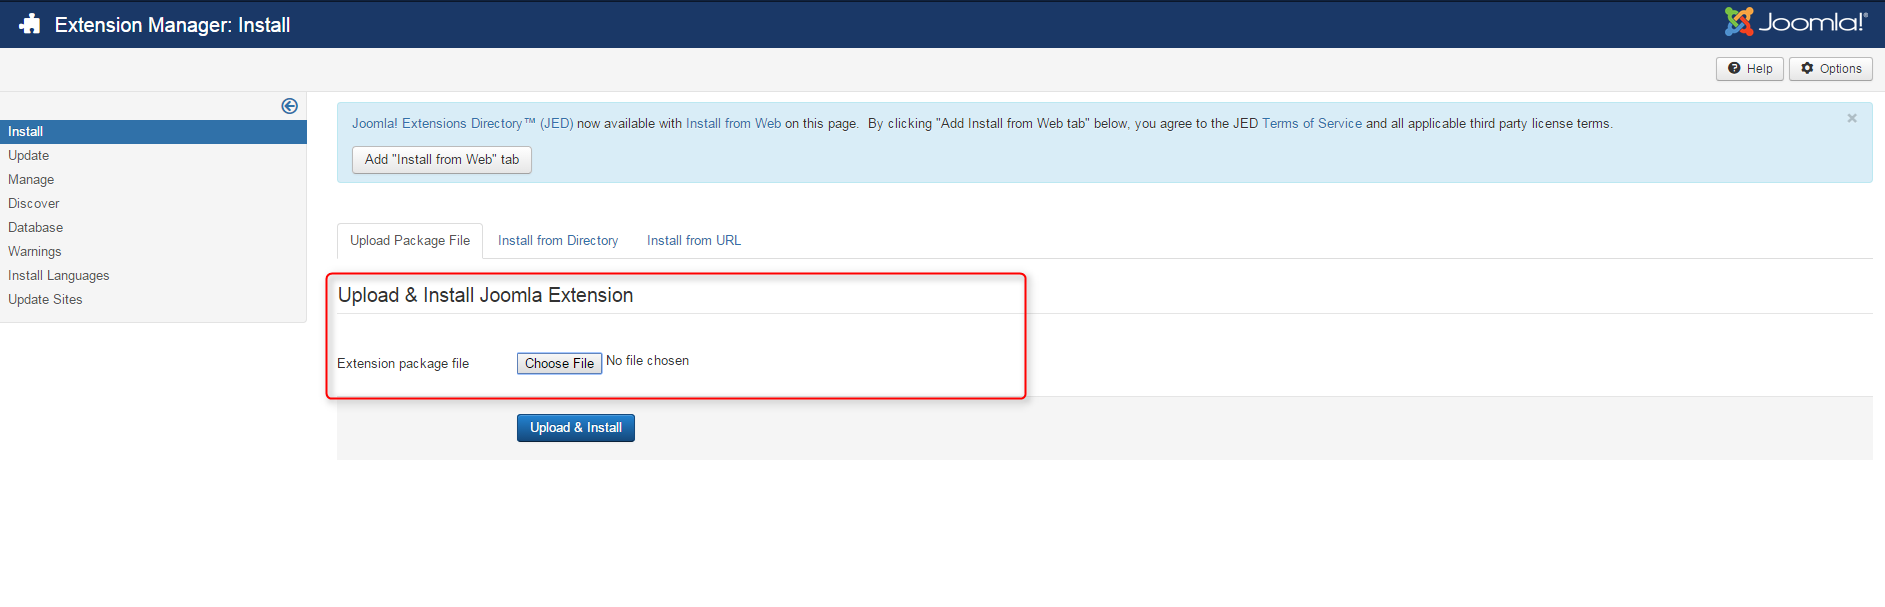
To Upload & Install DJ-Classifieds component, click " Choose file " and choose the extension package from your disk.
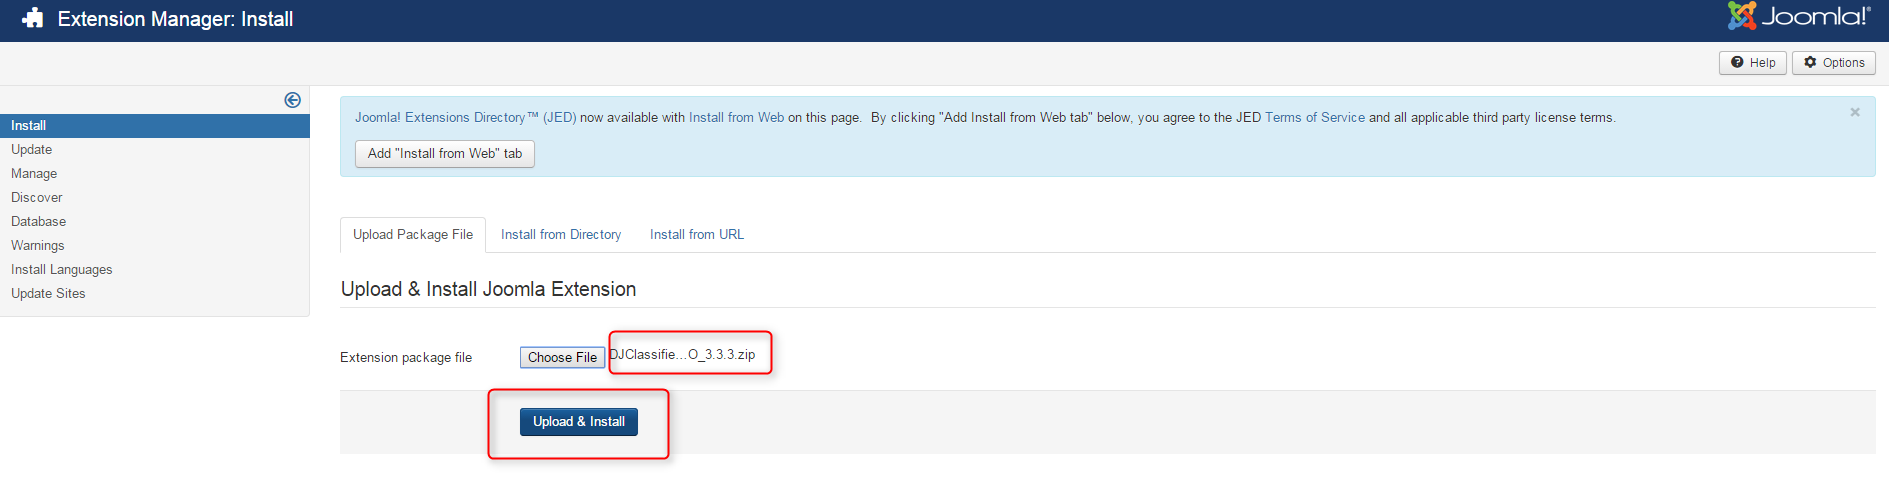
When the package is chosen, click " Upload & Install ".
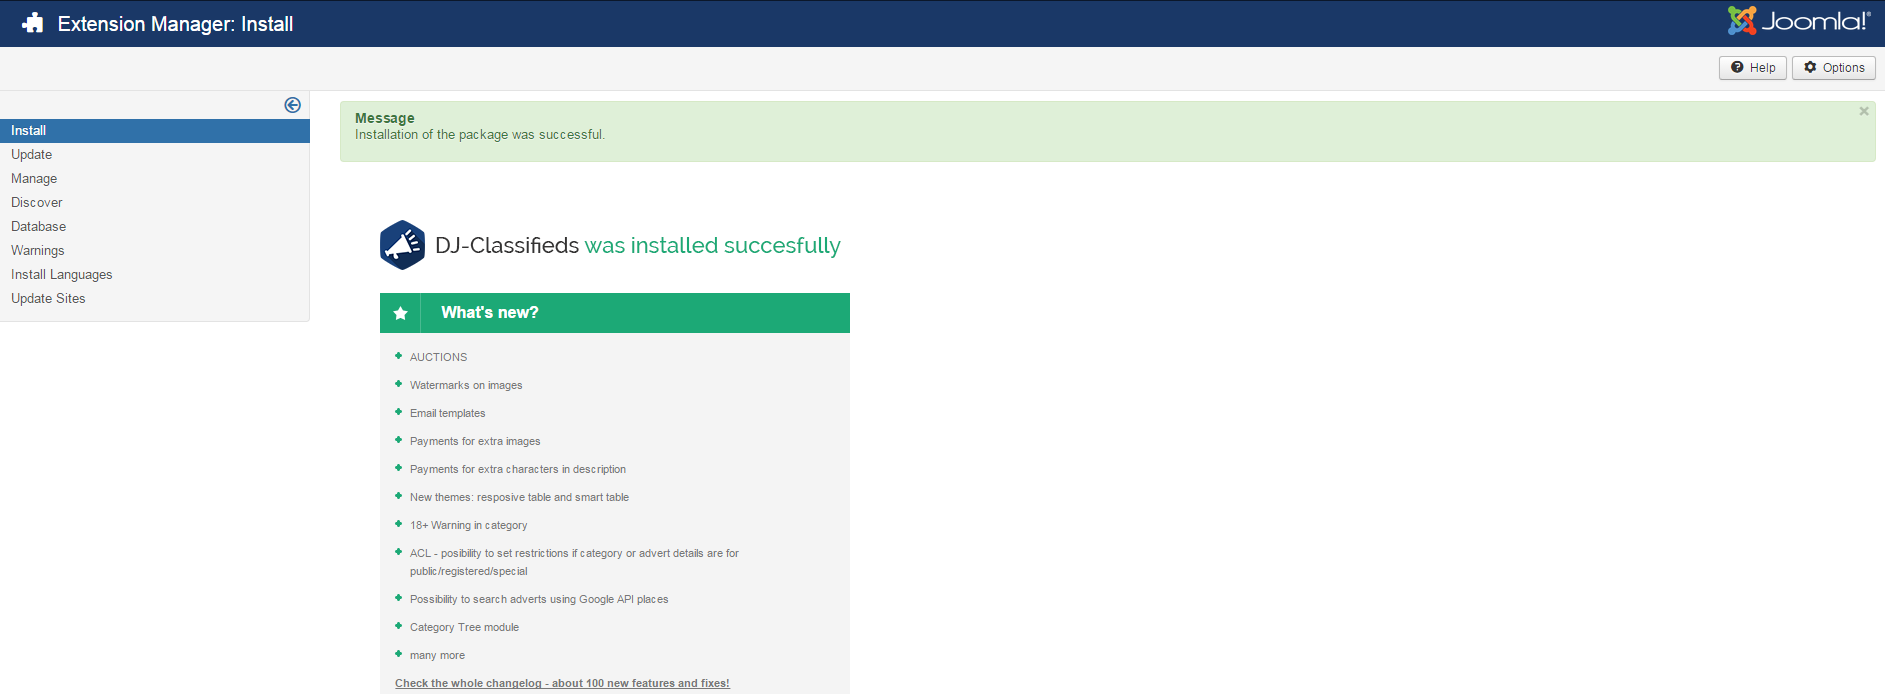
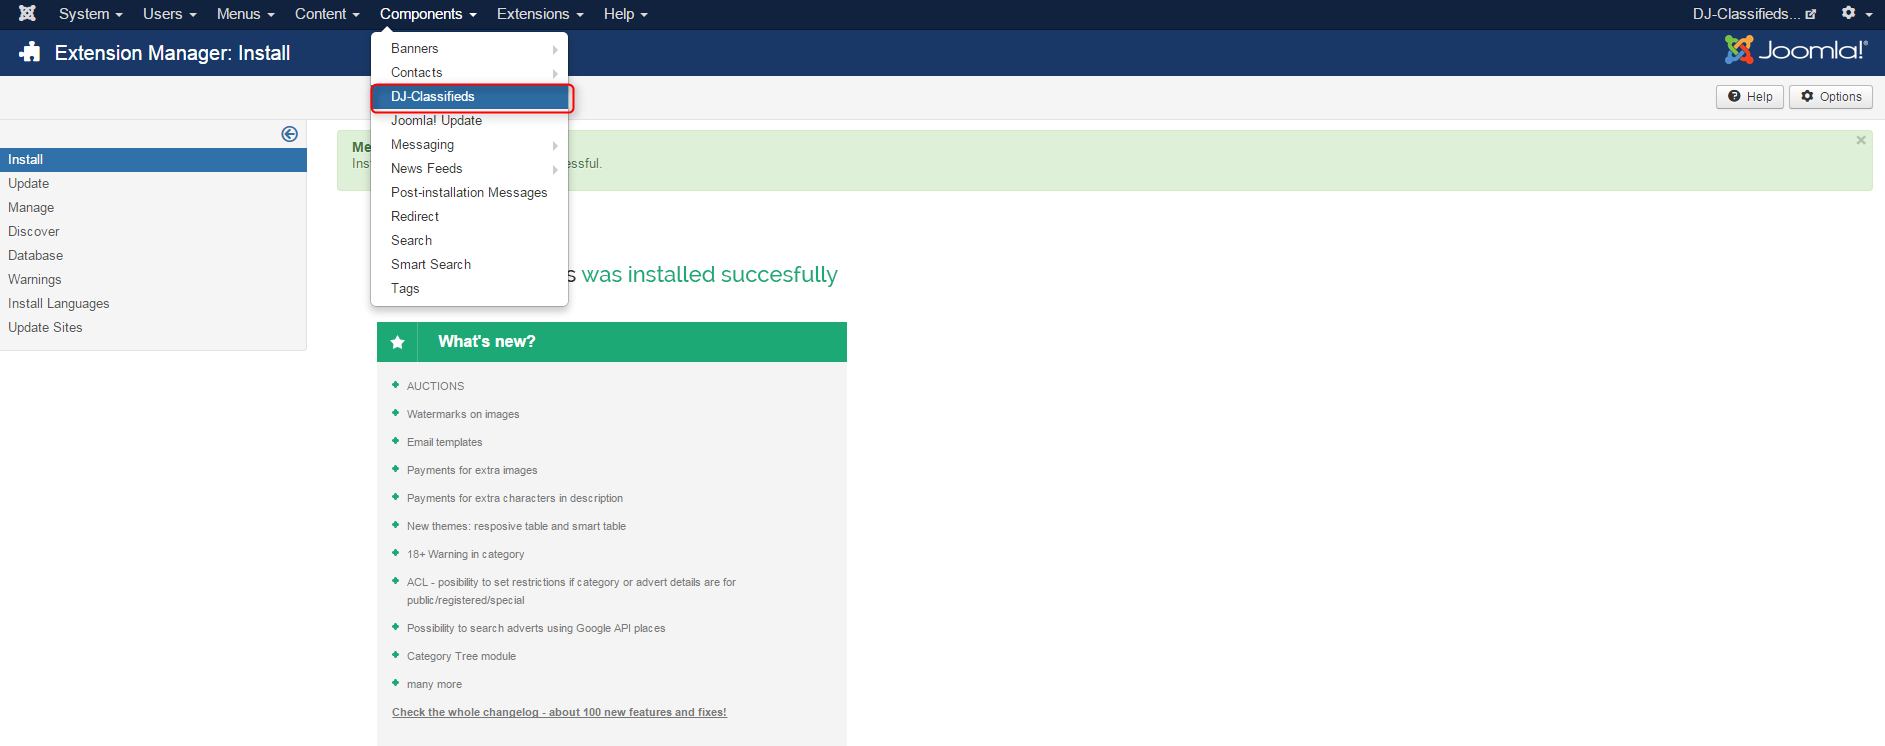
DJ-Classifieds has been installed successfully.
Categories
Go to " Components " and choose " DJ-Classifieds " from the list.
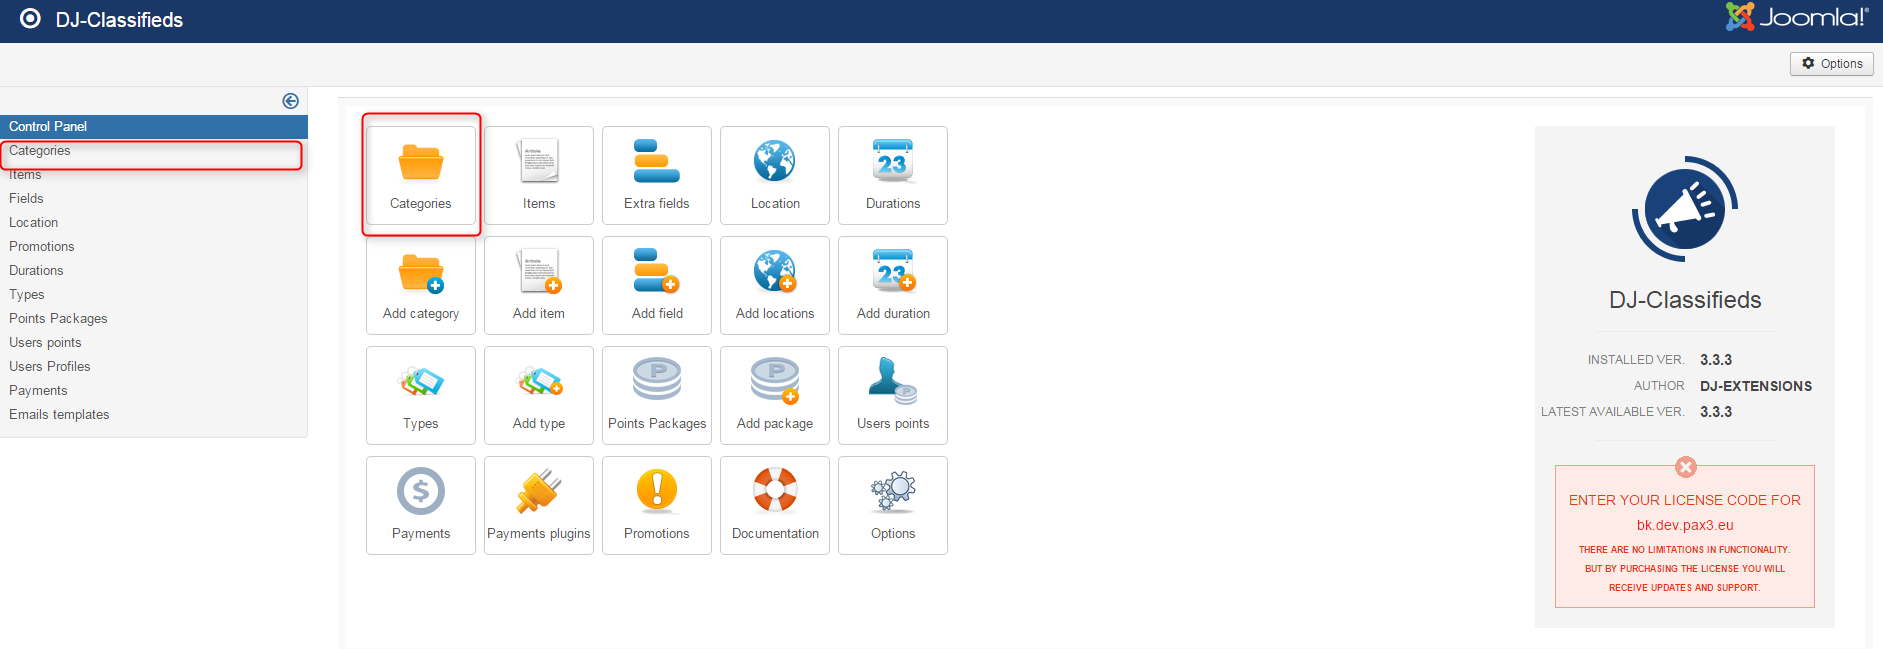
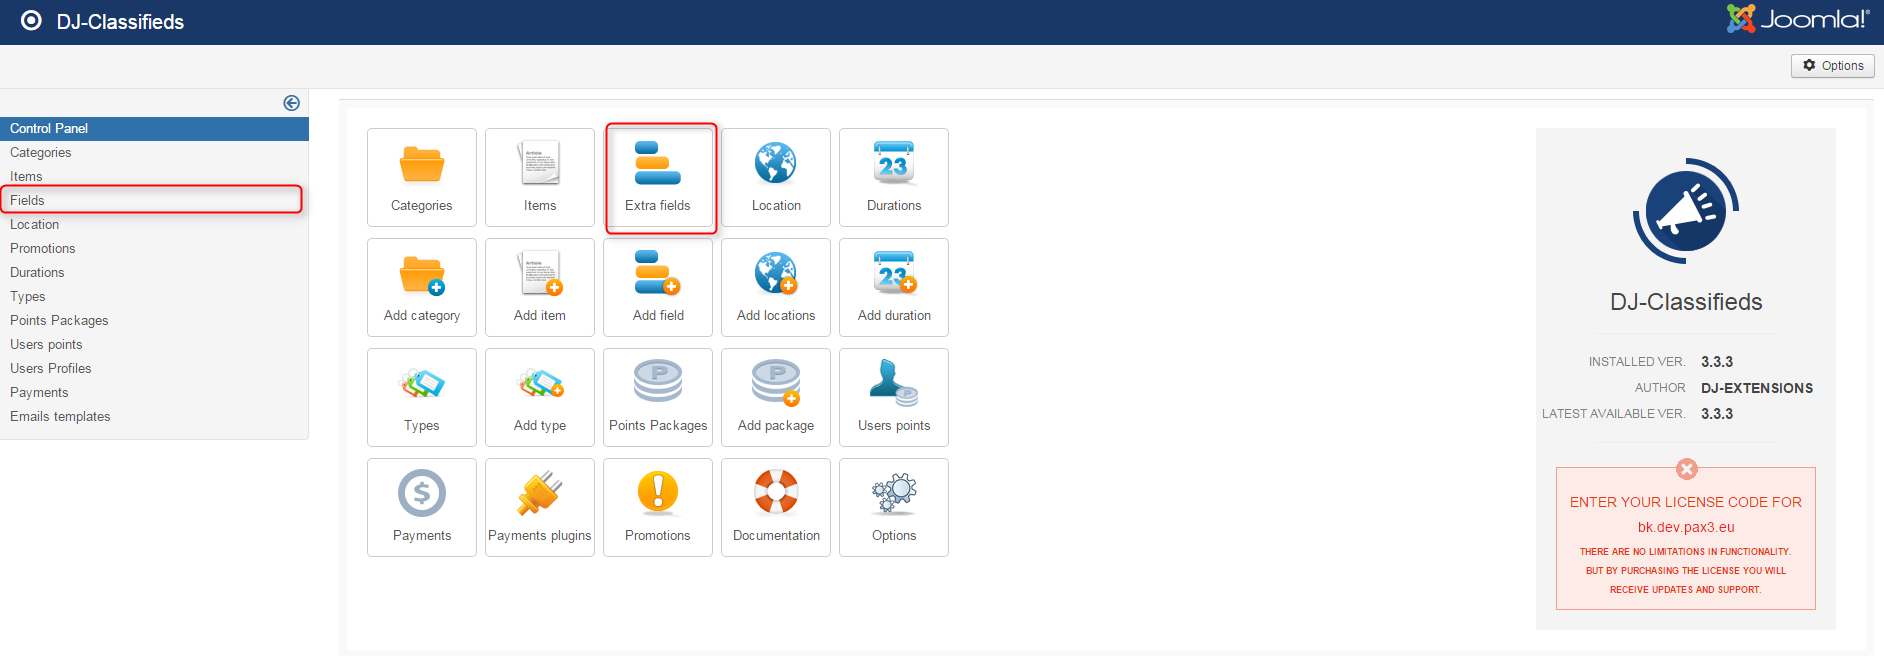
In DJ-Classifieds Control Panel open " Categories ".
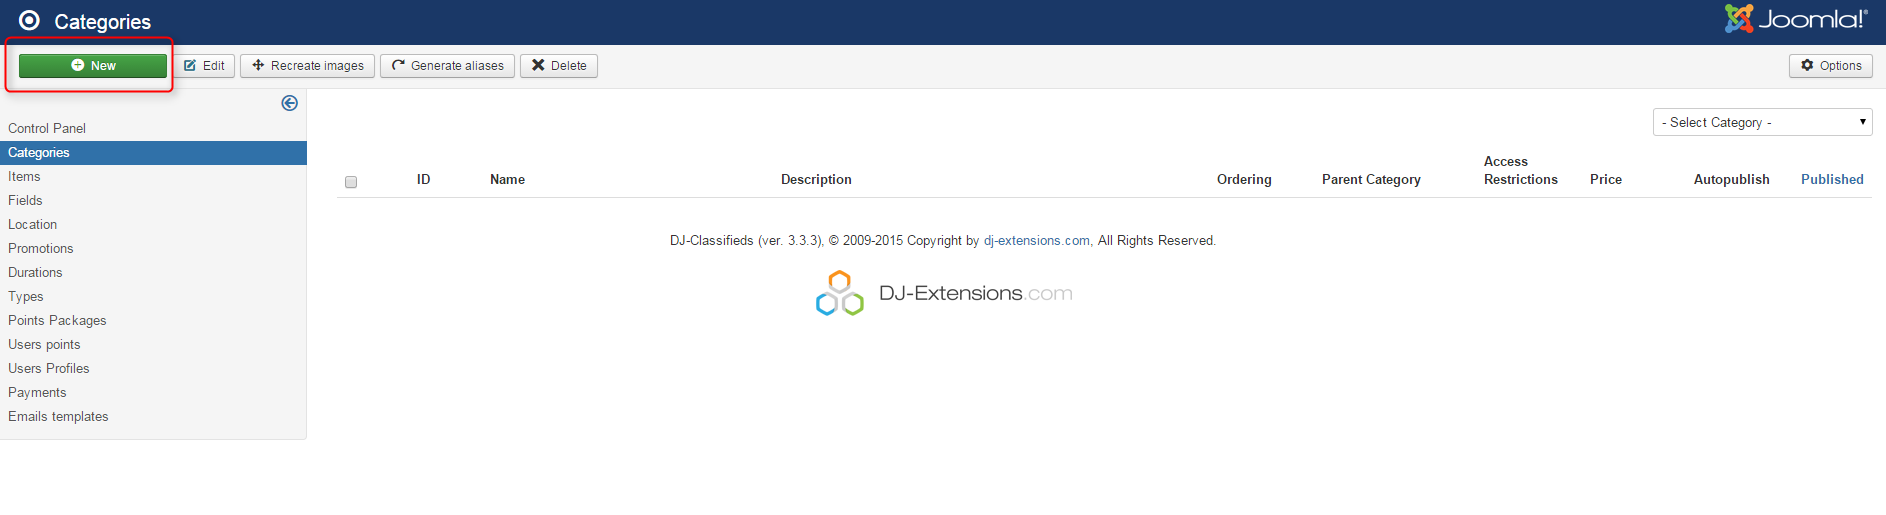
Now click " New ".
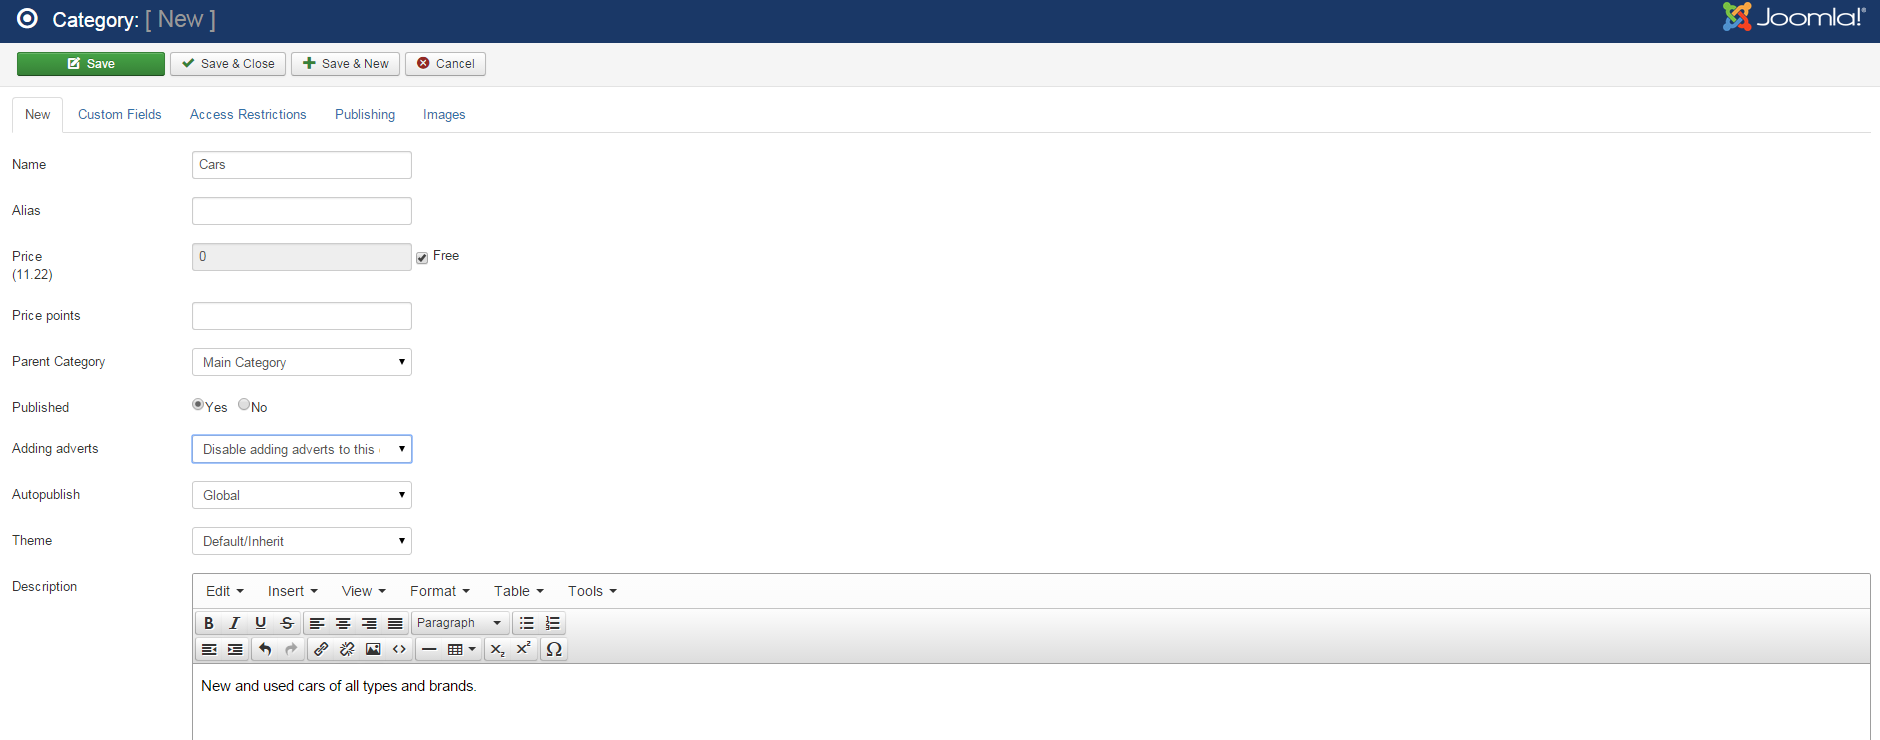
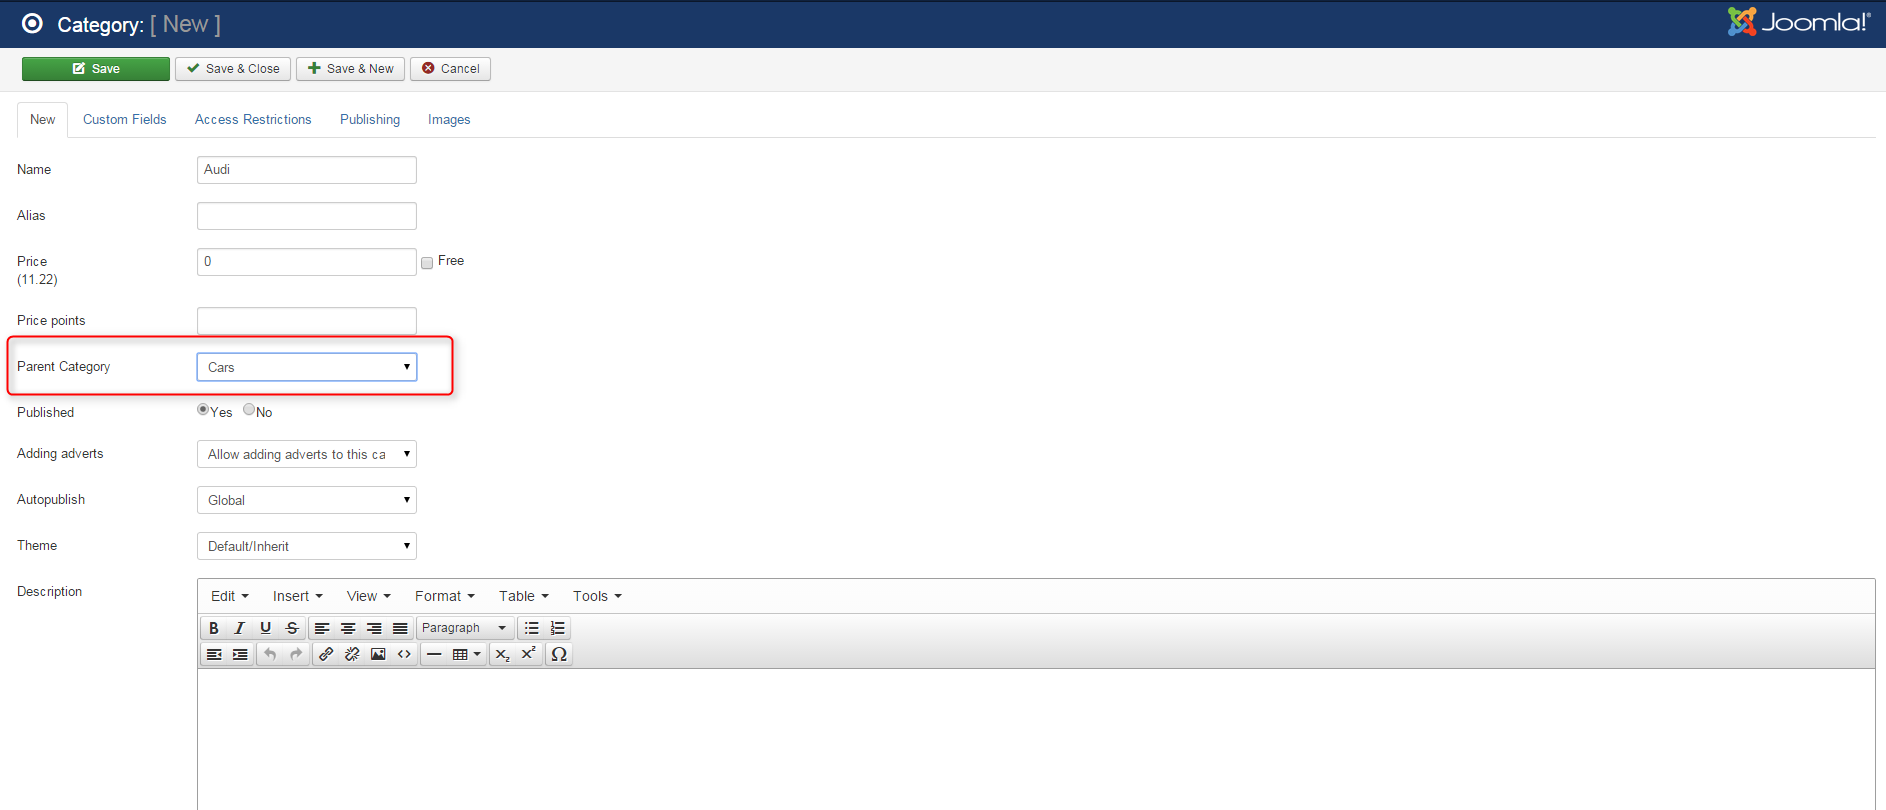
Fill in the fields that you need for your category. We present an example configuration.
We set:
- Category name: cars
- Price: free
- Adding adverts - disable.
- Description: New and used cars of all types and brands
As you can see below, we create "Audi " as subcategory and assign it Parent Category "Cars".
You can find a complete list of categories' parameters here.
If you wonder what is "price points" you will find the answer in this article.
Custom fields
Now it's time to create custom fields. In DJ-Classifieds control panel go to " Custom fields " tab and open " Fields ".
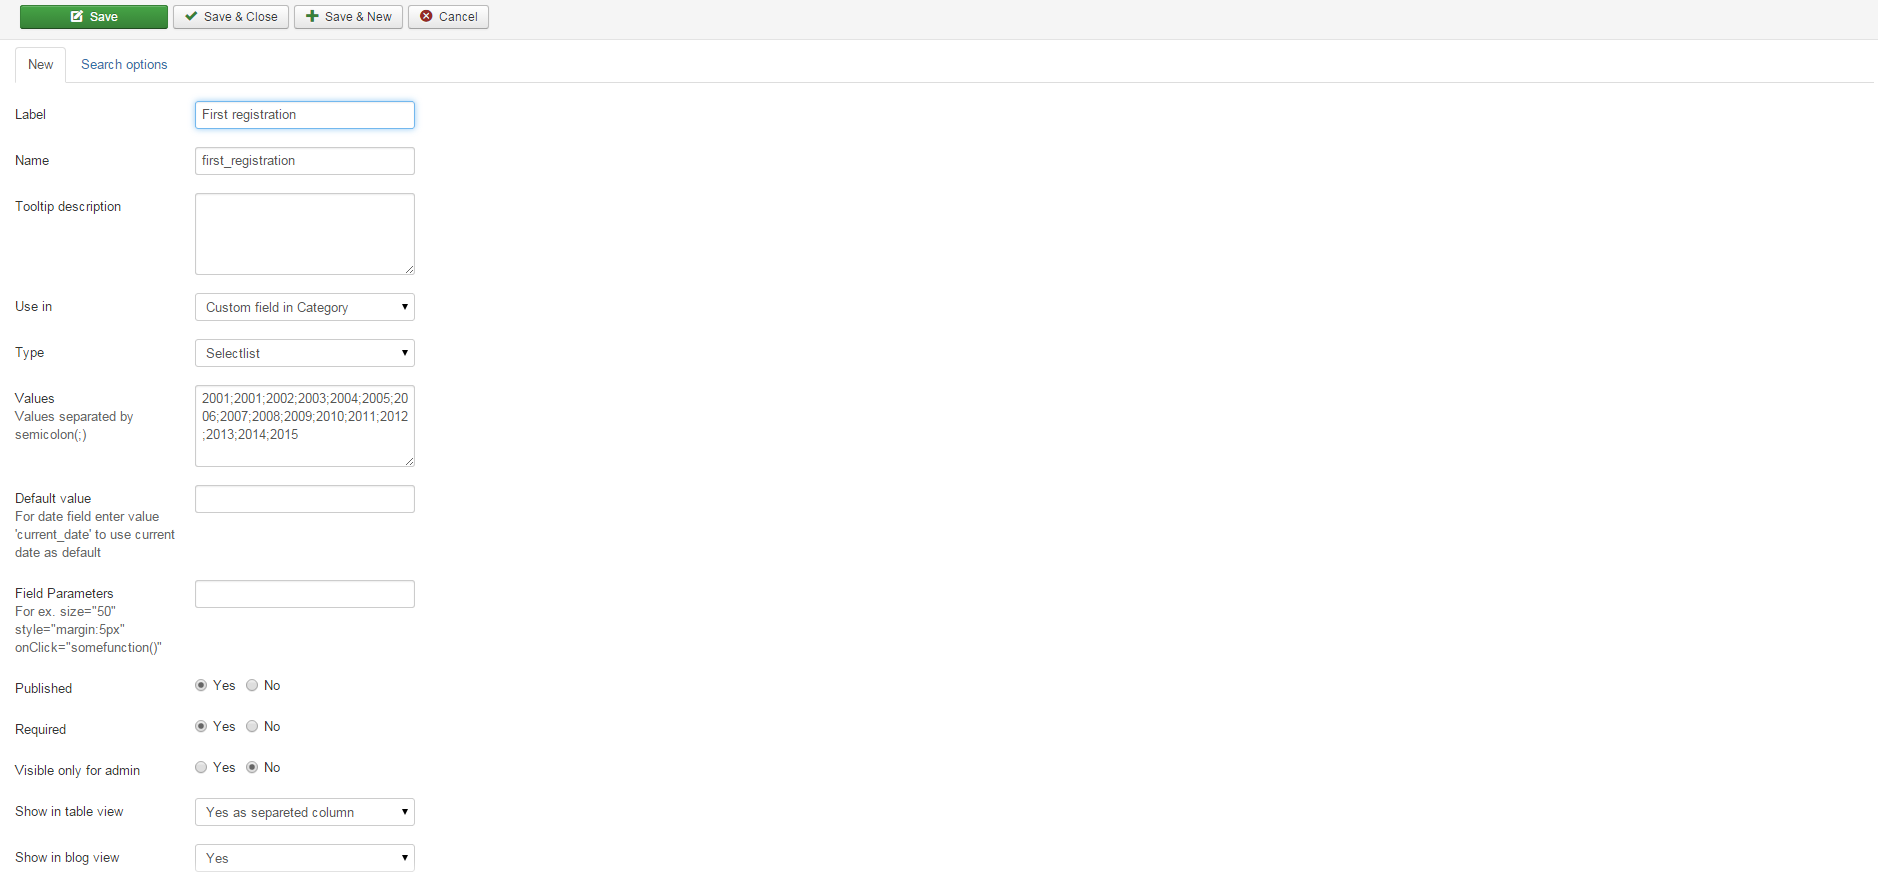
Provide all the important information.
We set:
- Label - First registration
- Use in - A custom field in the category
- Type - select list
- Values: 2001;2001;2002;2003;2004;2005;2006;2007;2008;2009;2010;2011;2012;2013;2014;2015
- Required - yes
- Show in table view and blog view.
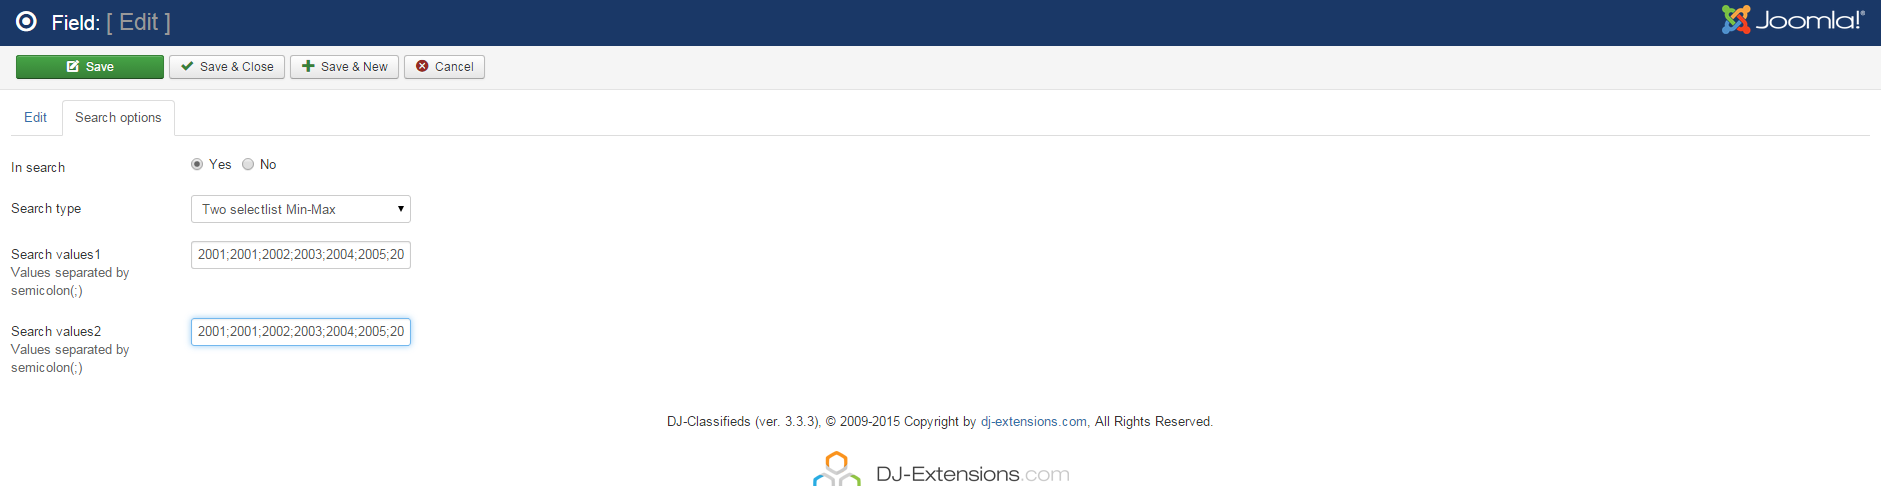
There is also a " Search options " tab. When you use it, the custom fields appear in the ads search box.
We set:
- In search - yes
- Search type: two select lists
- Values: pre 2001;2001;2002;2003;2004;2005;2006;2007;2008;2009;2010;2011;2012;2013;2014;2015
Do not forget that each custom field should be assigned to a proper DJ-Classifieds category. One more time open the " Categories " in DJ-Classifieds panel.
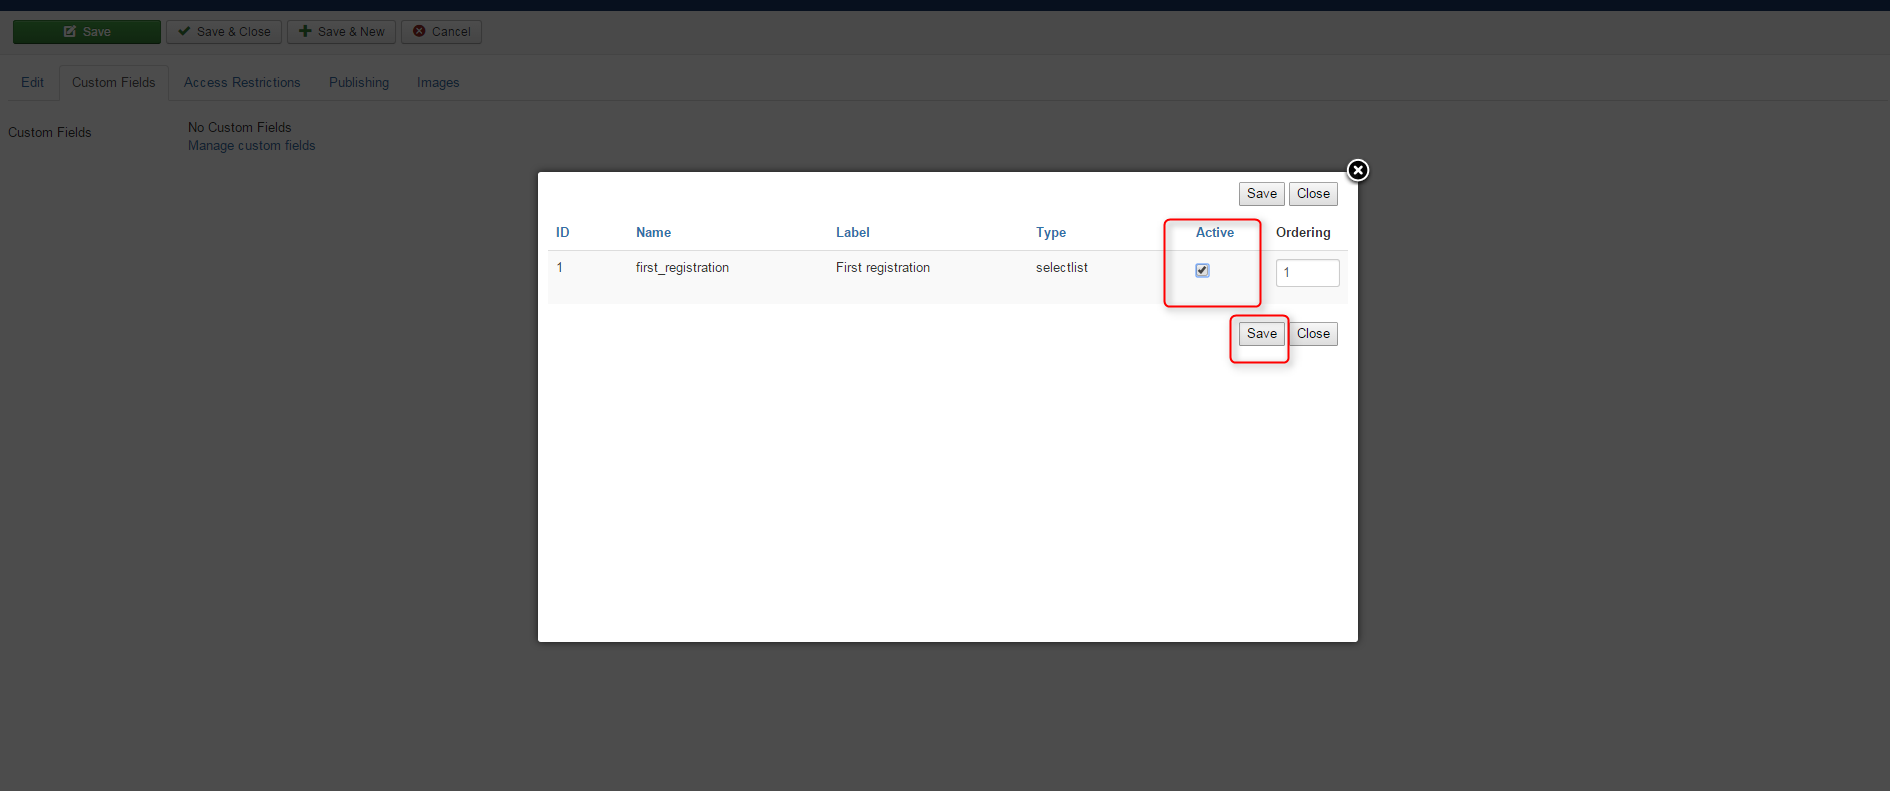
Choose a proper category and go to " Custom Fields tab ". Choose " Manage custom fields ".
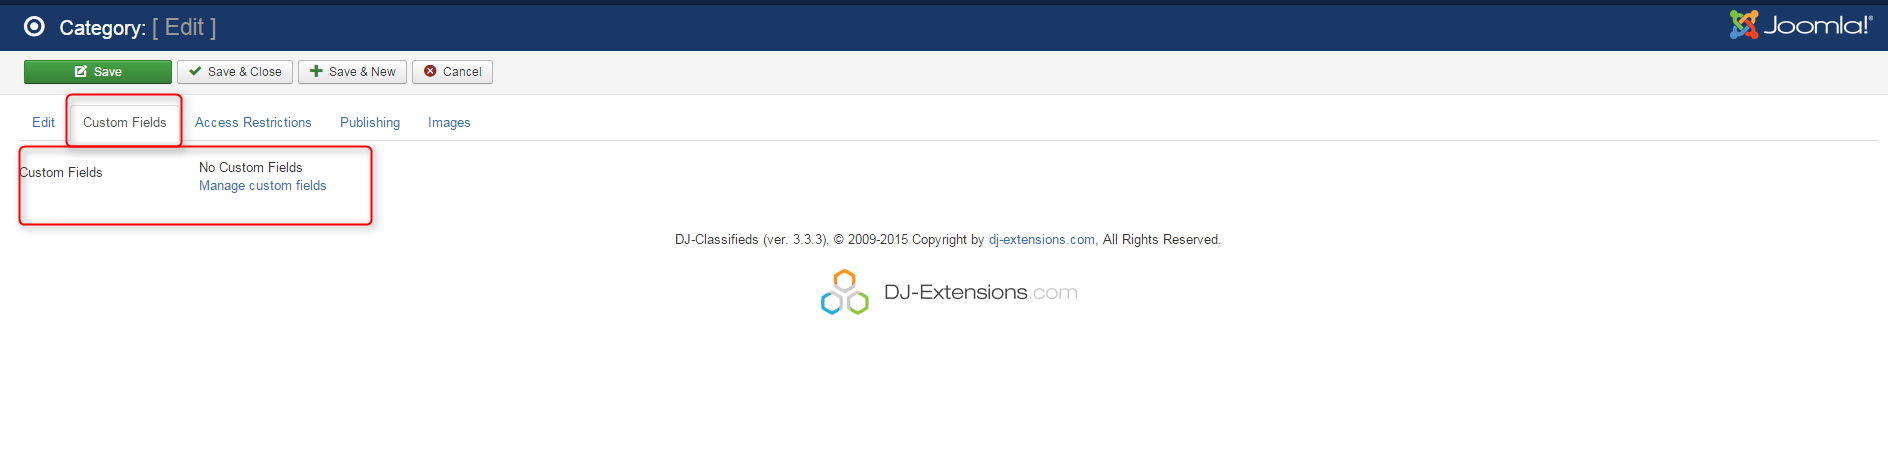
Click " Active " to assign a custom field to this category.
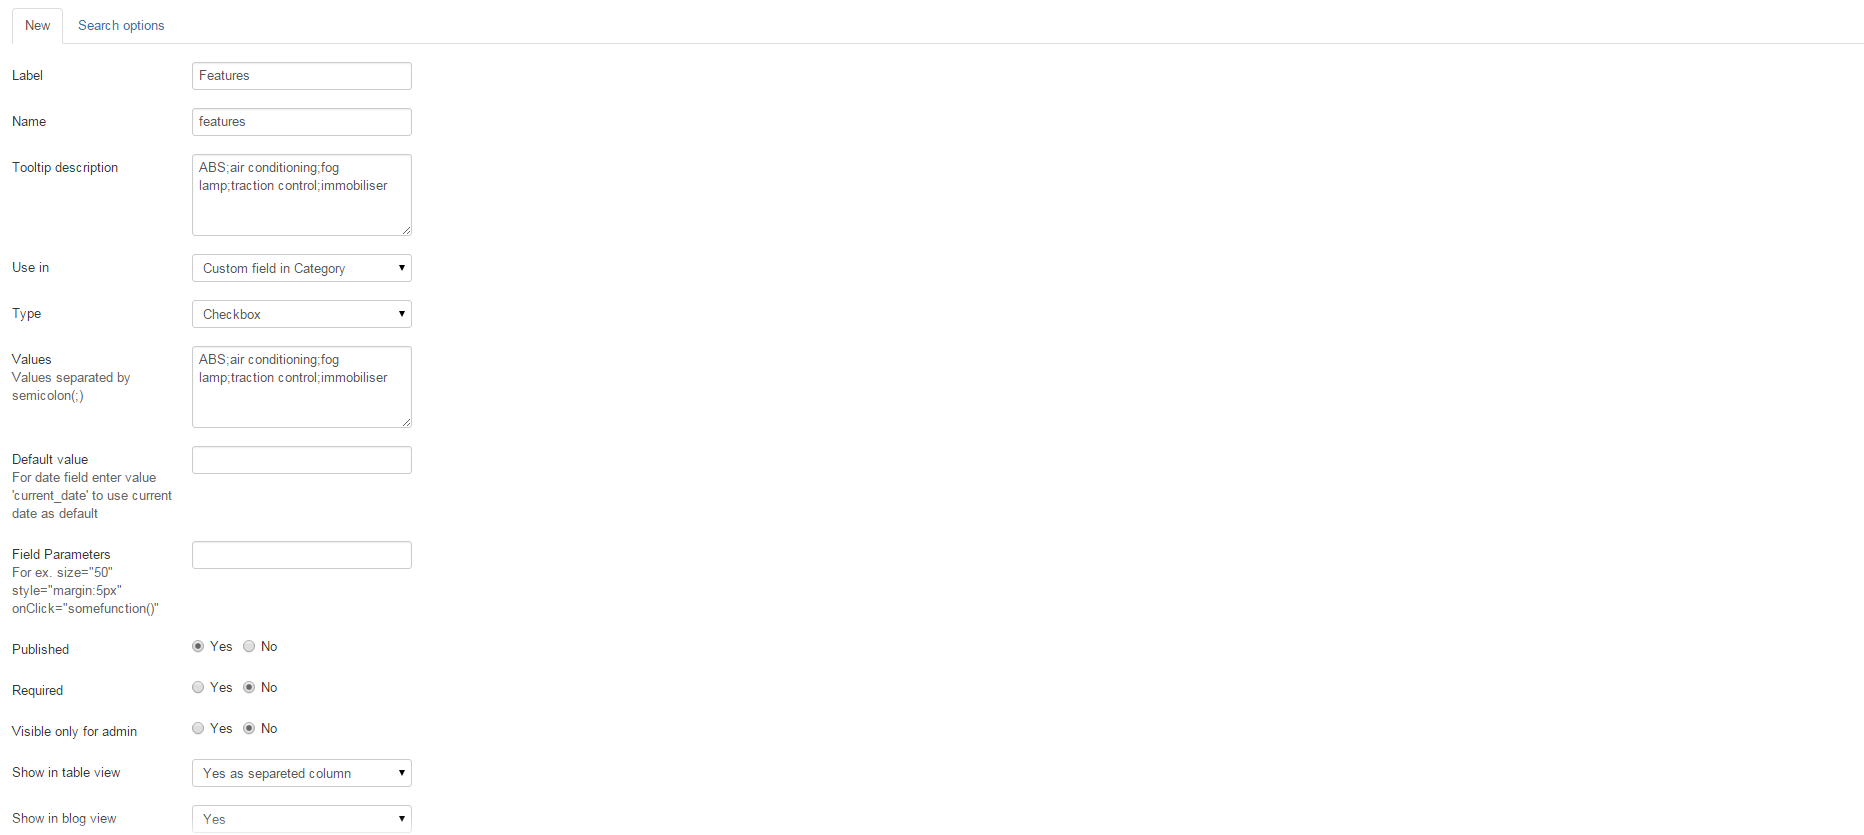
Let's see now how to make a checkbox custom field.
Click "new". Fill all the necessary fields.
We set:
- Label - features
- Type - checkbox
- Values: ABS;air conditioning;fog lamp;traction control;immobiliser
- Required - no
- Show in table and blog view.
And now again the " Search options ".
We set:
- In search - yes
- Search type - checkbox
- Values: ABS;air conditioning;fog lamp;traction control;immobiliser
- Category assignment - cars

This custom field must be assigned to "cars" category in the same way as the other fields before.
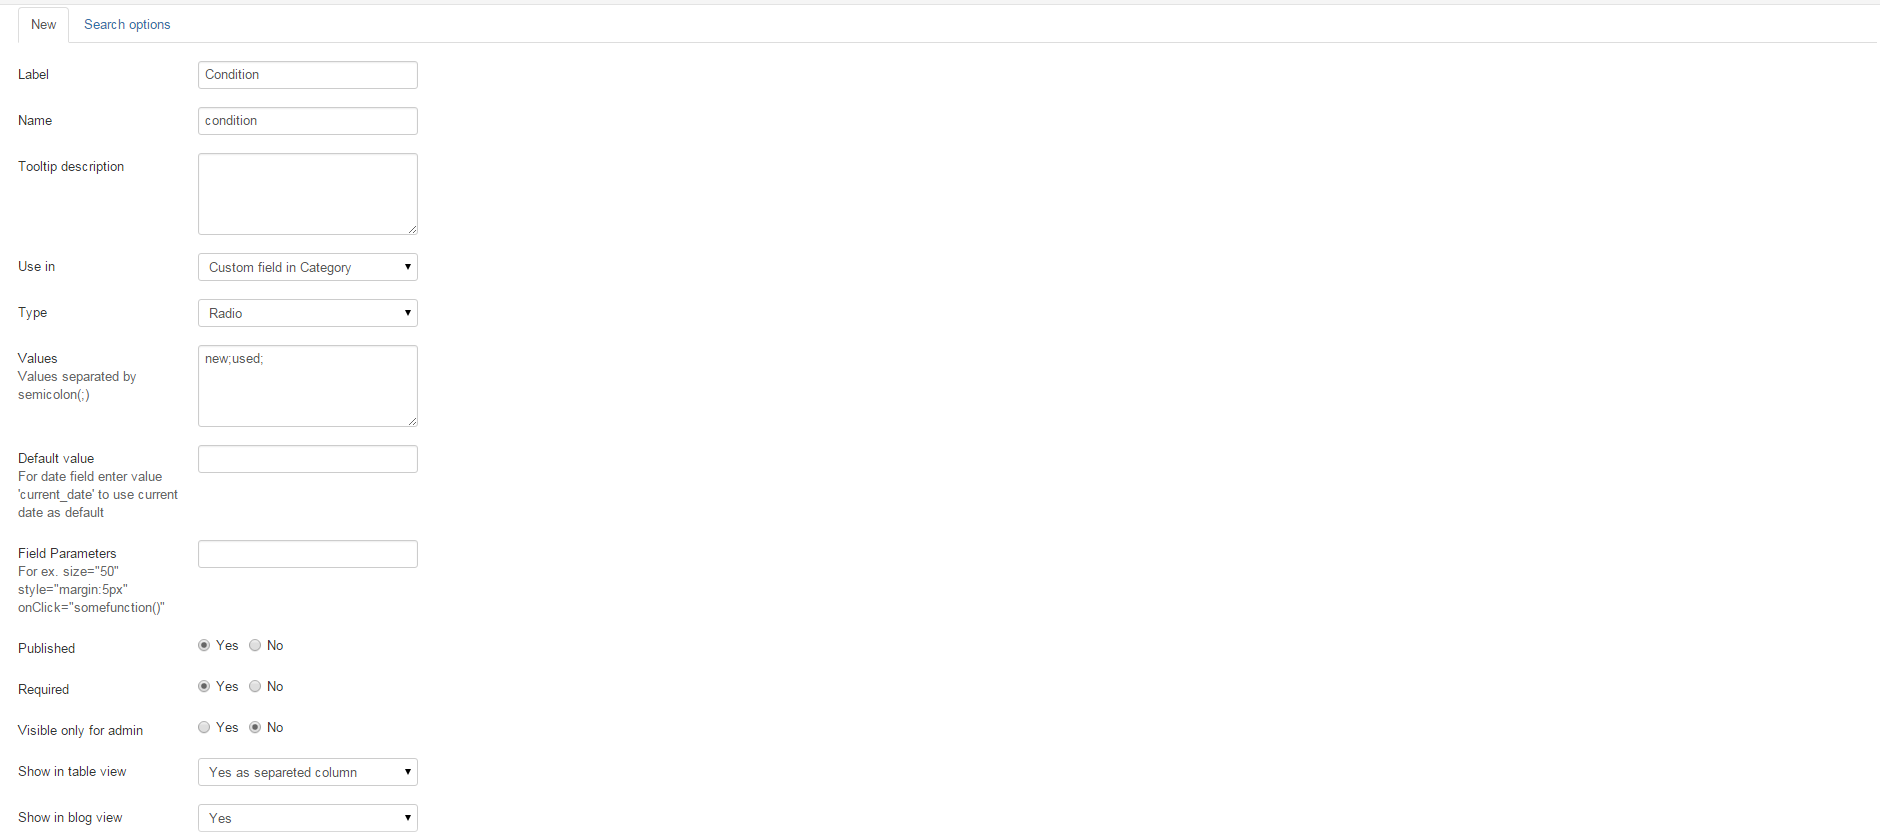
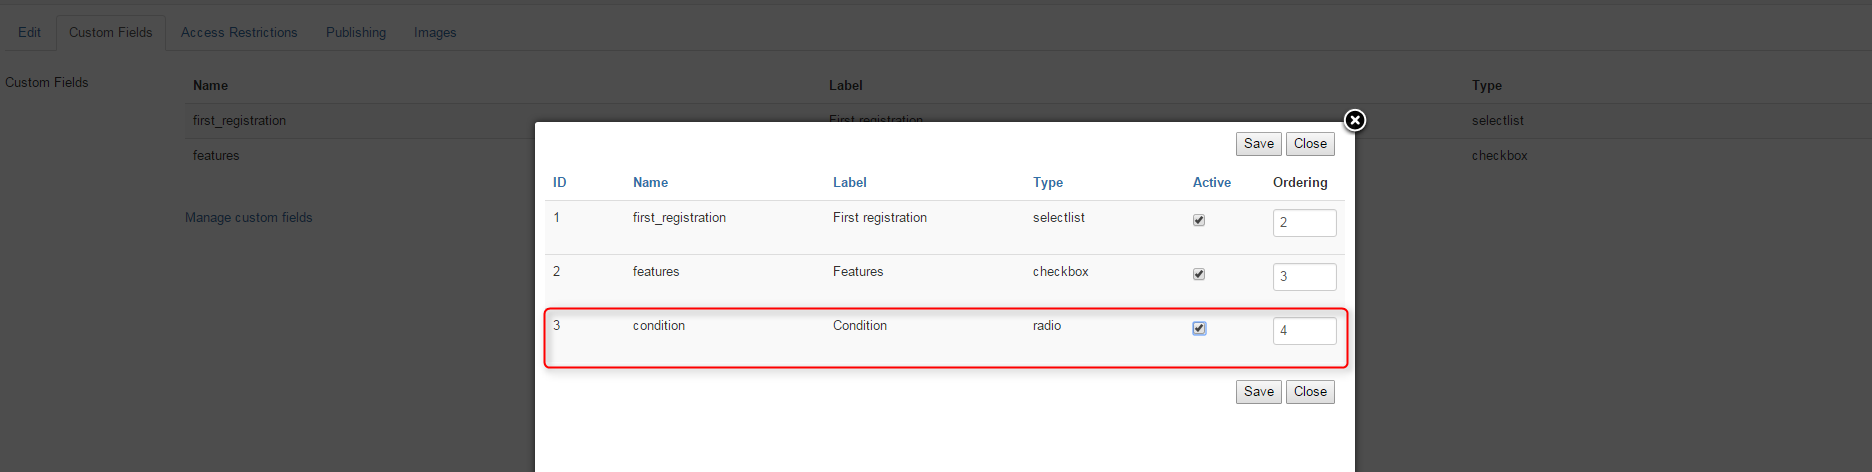
Now let's define the custom field: Condition.
We set:
- Label: condition
- Type - radio
- Values: new, used
- Required - yes
- Show in table and blog view.
And now the "Search options".
We set:
- In search - yes
- Search type: checkbox
- Values: new, used

And like always we assign " condition " field to " cars " category.
Learn more about extra fields from this article.
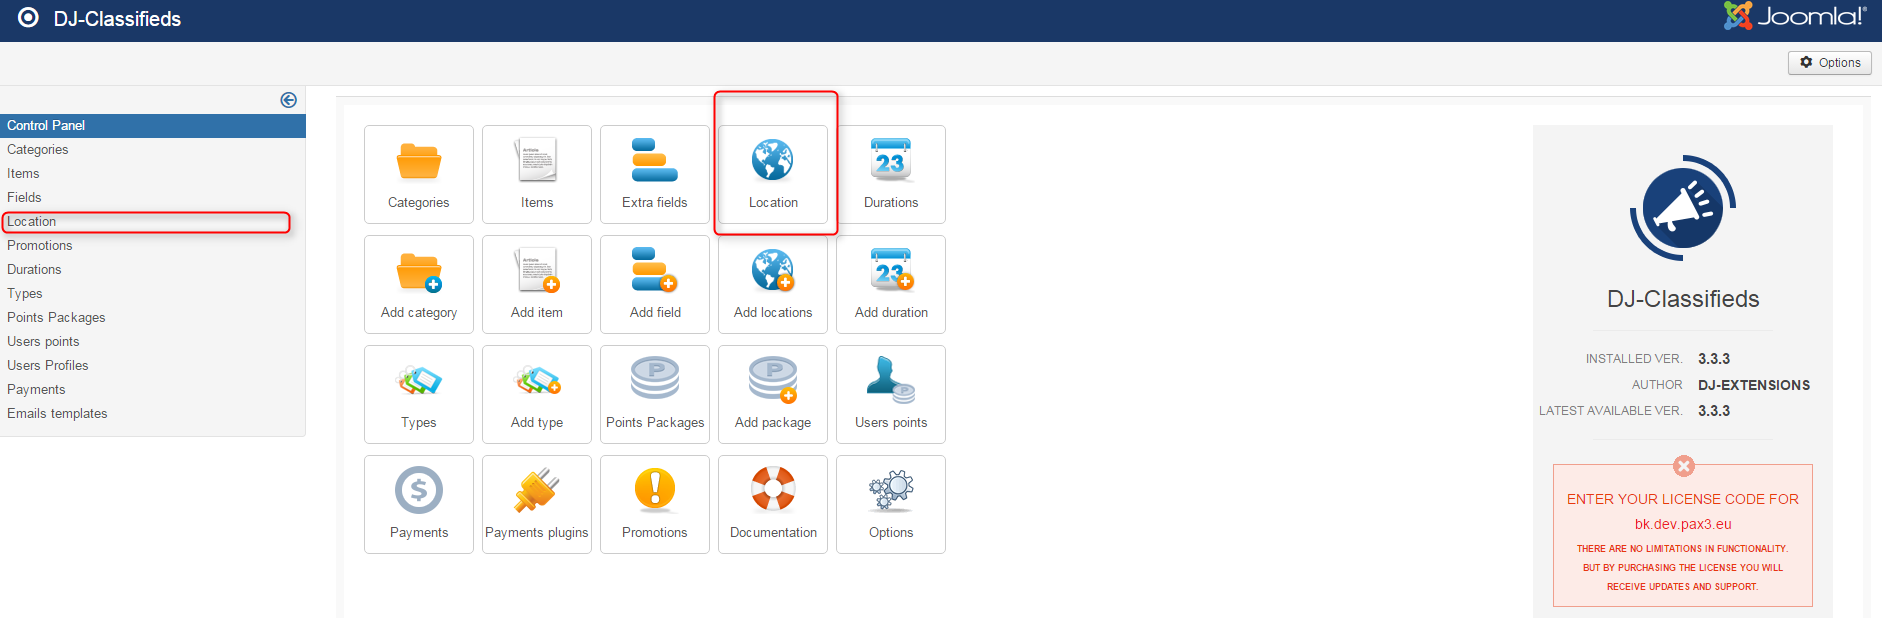
Location
Let's create locations now. In DJ-Classifieds panel click on " Location " button.
Choose " new ".
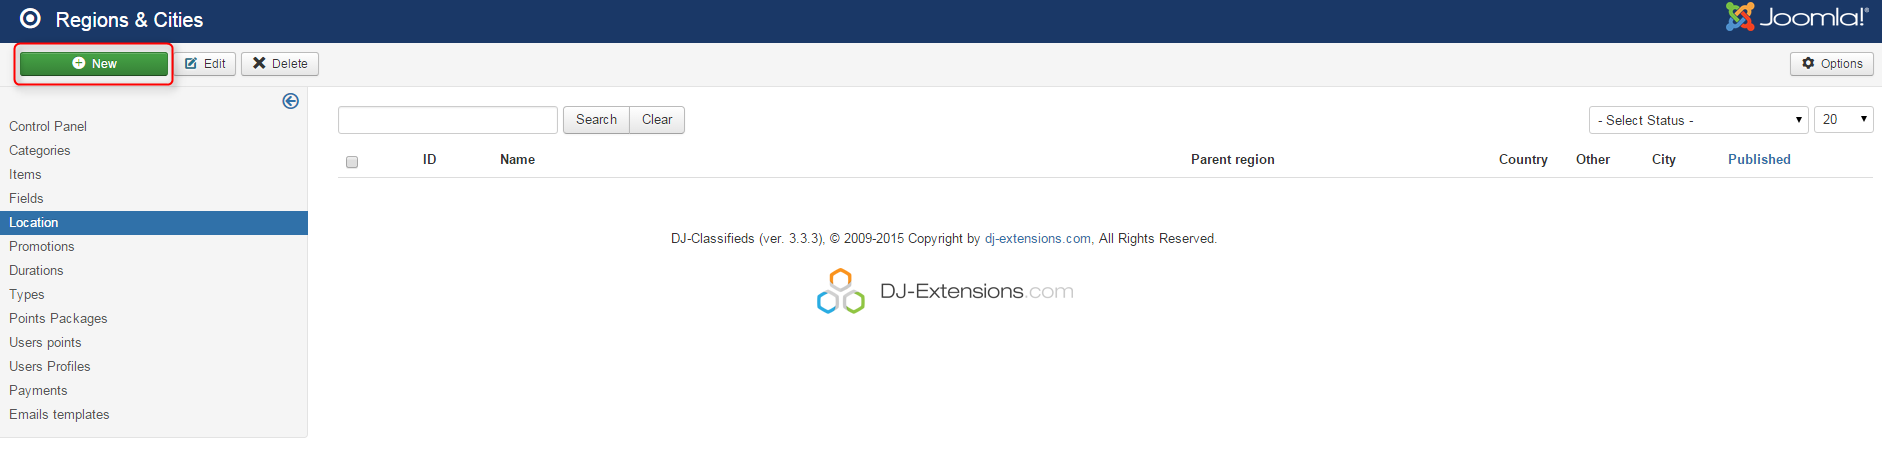
We create the first location. We set:
- Name: London
- Type: City
- Published: Yes
Click " Save " when you are ready.

Now let's create the next location. Click " new " and set:
- Name: Camden
- Select a parent region: London
- Type: Other
- Published: Yes
Click " Save ".
We have created a sub-location (Camden district) which belongs to London (parent location).

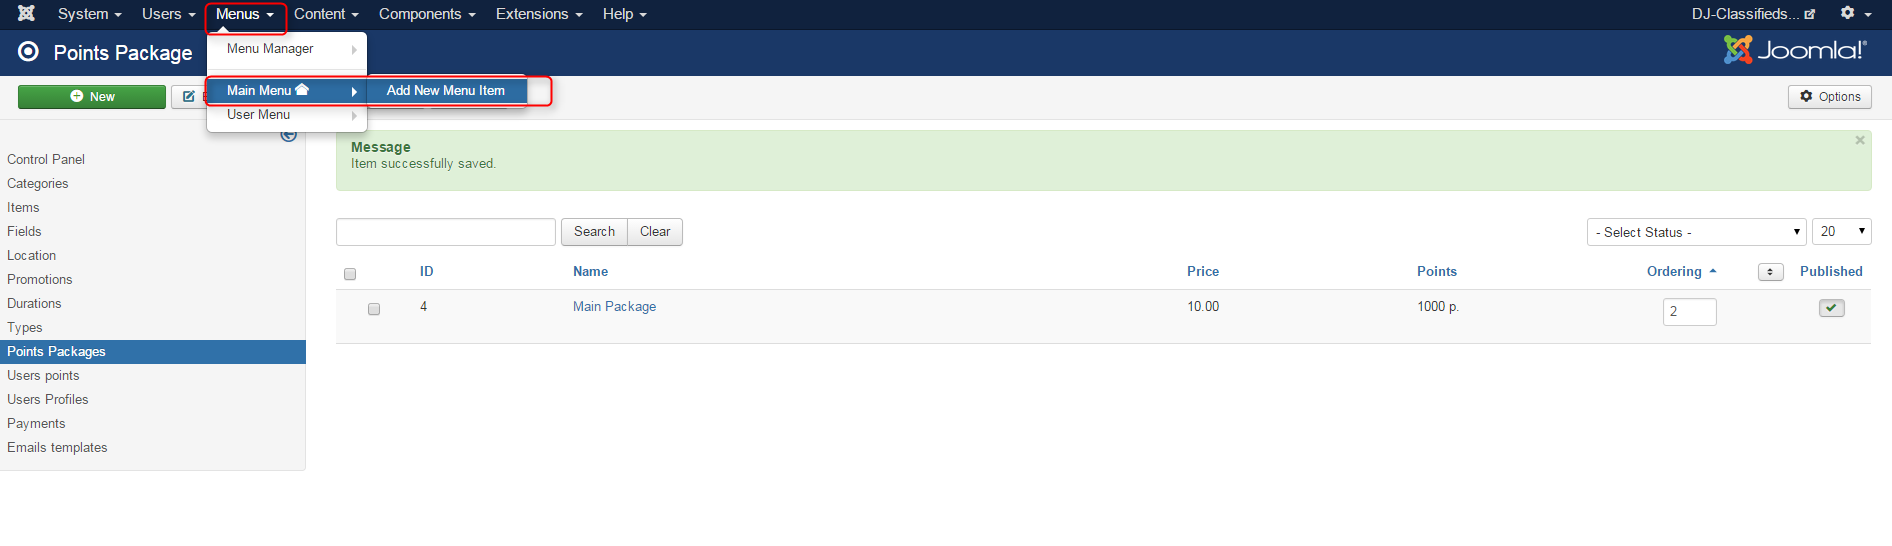
Menu items
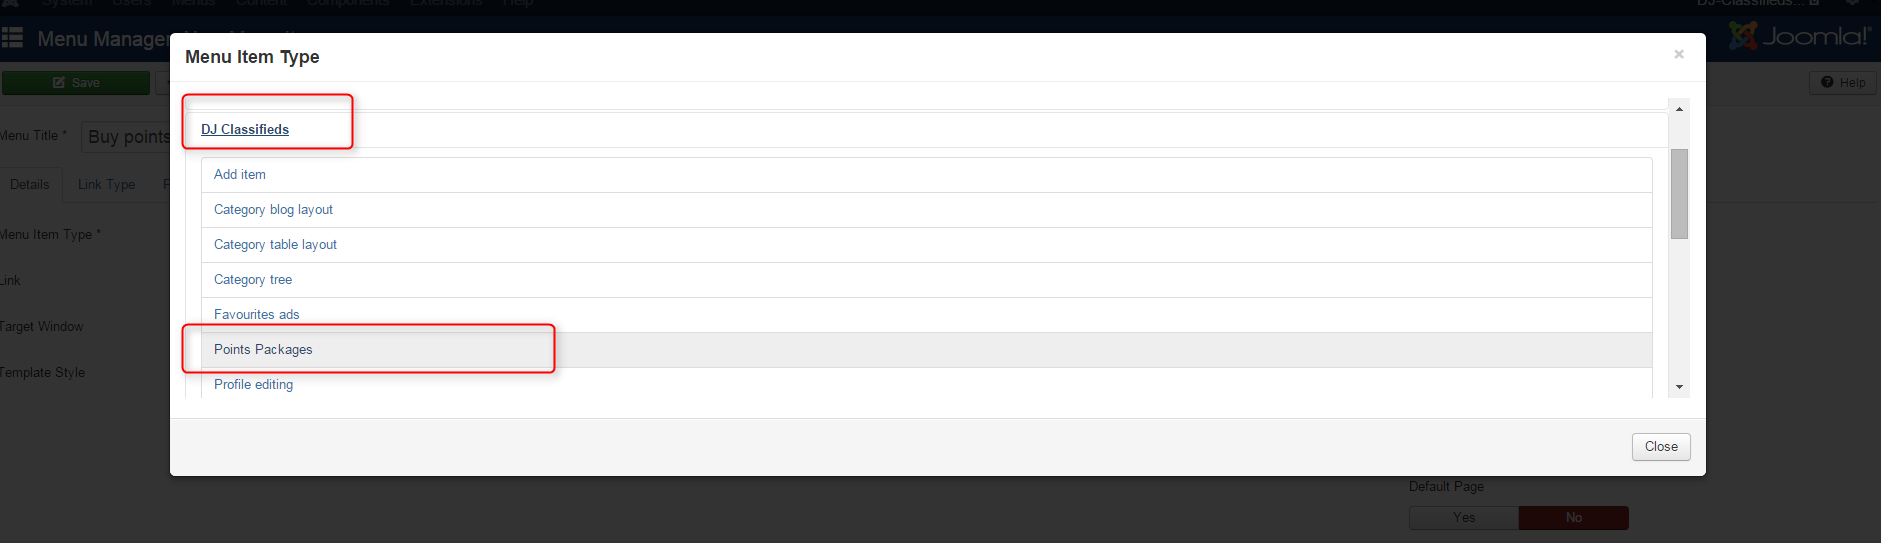
Go to Menus in the top bar. Choose " Main Menu " and then " Add New Menu Item ".
Now we define a new menu item called DJ-Classifieds ads.
We set (all in the Details tab):
- Menu title - DJ-Classifieds ads
- Menu item type - category blog layout
- Category- All categories
Click " Save "
Let's add another menu item. This item will allow users to post their adverts when clicking this menu button.
The process is the same as for the latest menu item.
This time we set:
- Menu title - DJ-Classifieds post advert
- Menu Item Type - Add item
Click " Save "
We created only two menu items linked to DJ-Classifieds component views. You can learn about the rest of the available views here.
Related Articles
Auctions in DJ-Classifieds
DJ-Classifieds component allows hosting auctions on your Joomla powered website! Users can run their own auctions and sell items to your site visitors! To make it everything more comfortable, we will show you how to manage the auctions, place a bid ...PayPal PLUS DJ-Classifieds integration
Integrate DJ-Classifieds with PayPal PLUS payment processing solution and receive payments from your customers through PayPal, ELV (direct debit), Credit Card, and PUI (Pay Upon Invoice). PayPal PLUS is available in both the German and Latin American ...EasySocial integration for DJ-Classifieds
In this tutorial, I’ll show you how to install both Joomla plugin and EasySocial application. I will also show a basic configuration that can help you display ads on your community stream and social profile. This plugin comes free with the ...How to use DJ-Classifieds-Importer
Important Note: We distribute the DJ-Classifieds-Importer component along with the active subscription of DJ-Classifieds. That means that if your subscription for DJ-Classifieds is active, you can download and use the DJ-Classifieds-Importer ...How to use JMailAlerts with DJ-Classifieds
First, you need to download and install J! email alerts. You'll find relevant information on developer's site: http://techjoomla.com/jmailalerts/view-category.html (be sure to be logged in to download the extension - it's free) Once installed you ...